
Ever felt like telehandler load charts are speaking a different language? Well, you’re not alone. These charts are crammed with numbers, symbols and terms that hold the key to leveraging one of the most adaptable machines on a construction site. For all their importance, though, they can be as puzzling as a crossword. We’re here to clear up the confusion and make sense of these charts in plain English. Whether you’re a seasoned pro behind the controls or just starting out, we’re breaking down everything you need to know. From deciphering those cryptic symbols to understanding the critical terms, we’ll show you why these charts are a goldmine for doing your job safely and more efficiently. So, let’s dive into the nuts and bolts of telehandler load charts, ensuring you’re maximizing your machine’s capabilities without breaking a sweat.
What’s a Load Chart Anyway?
Think of a load chart as your telehandler’s user manual but way more crucial. It details how much your machine can lift and how high based on rigorous testing. This isn’t just for show; it’s about keeping you and your site safe from overloading mishaps.
Before we get any further, let’s get comfy with the symbols and lingo you’ll meet on the chart. Curved arrows and lines? They show how your telehandler can move or swing around. Straight arrows? They’re all about the boom’s direction. Here are some other important terms to review before we keep going:
- Rated Capacity is the heaviest weight your telehandler can lift without breaking a sweat.
- Working Radius is how far away the load is from the middle of the machine.
- Boom Angle refers to how tilted the boom is, which changes how much you can lift.
- Stability Basis is about the conditions used to test the machine’s lifting limits.
- The Load Moment Indicator, or LMI, is a tool that gives you live updates to make sure you’re lifting safely and not going over the limit.
Chart Reading Made Easy
Getting the hang of the load chart is essential for a smooth operation. First things first: Match your outrigger position with the chart’s specification. The chart’s vertical side, or axis, tells you how high the boom goes, while the horizontal axis shows you the reach from the load to your machine. You’ll see lines marking out the max safe lifting weights across different heights and distances. Angled lines with degrees give you the lowdown on how the boom’s tilt affects your lift. The chart also sorts your workspace into zones for handling different weights safely. Always double check your load weight against the chart to keep your operation running smoothly.
Capacity and Range: The Inside Scoop
Your load chart is a treasure trove, revealing the peak weight your telehandler can lift, which dips as the boom stretches out. Factors like the working radius, boom angle and even your attachments play into this. It’s crucial to weigh both moving and still loads, as the former can really test your limits. With modern telehandlers flaunting Load Moment Indicators, staying within safe bounds is a breeze.
Safe telehandler operation doesn’t just stop at mastering the chart, however. Other factors like ground conditions, the weather, your altitude and even the thermometer can influence your machine’s performance. Firm, flat ground is a must for lifting, and sidestepping bad weather or high-altitude quirks is smart. Adjusting to these real-world factors is key to keeping your operations both safe and snappy.
Safety Margins: Your Buffer Zone
Safety margins are essential in telehandler operations, offering a safety net for when things get windy or loads shift unexpectedly. They draw the line between what’s theoretically possible and what’s safely doable, ensuring your operations don’t just push limits but respect them for the sake of efficiency and safety.
Sticking to the specified capacities is non-negotiable to avoid overloading drama. Overlooking the impact of environmental elements and the weight of your add-ons could put your machine’s stability on thin ice. Being knowledgeable and playing it safe ensures your operations run like a well-oiled machine.
Getting a grip on your telehandler load chart is a must for topnotch, safe operations. Stick to the script for your model and remember: Safety isn’t just a guideline, it’s the rule. Keeping informed and cautious guarantees your operations run not only smoothly, but also smartly, too.
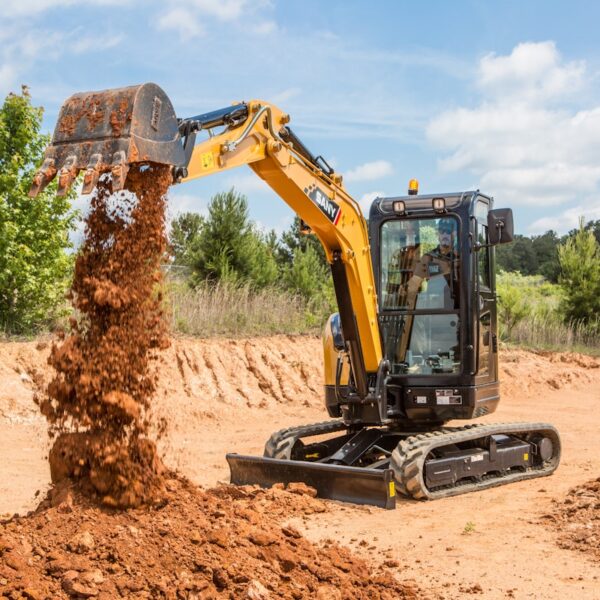
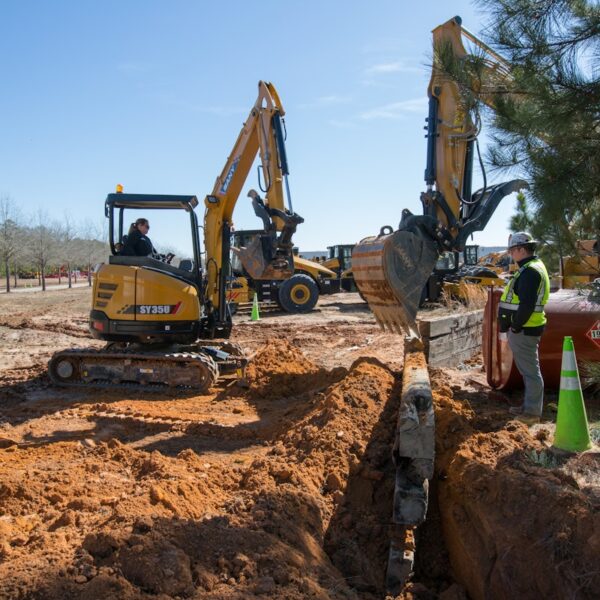
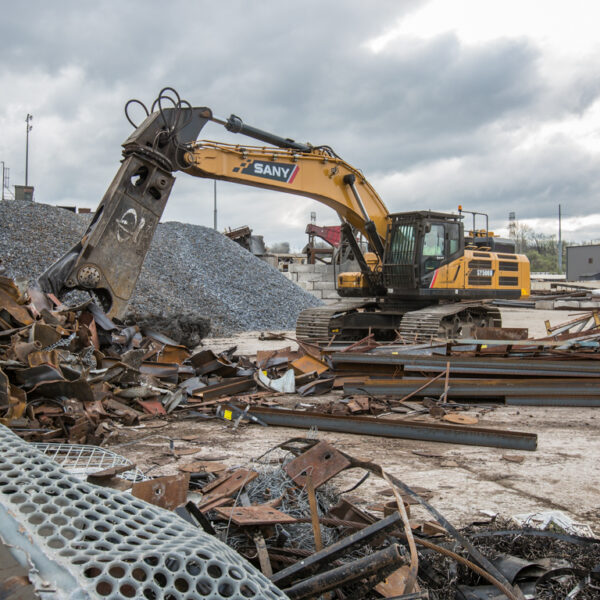
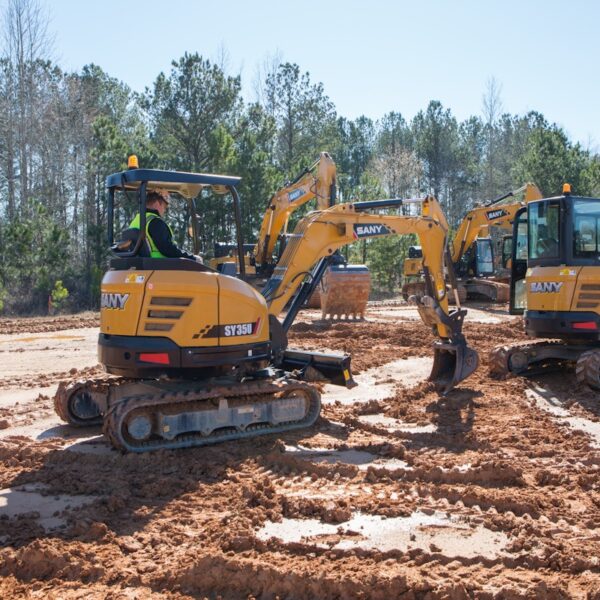
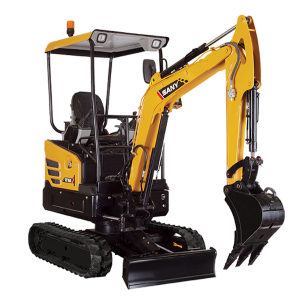
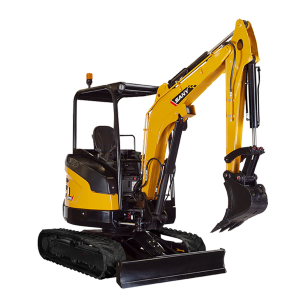
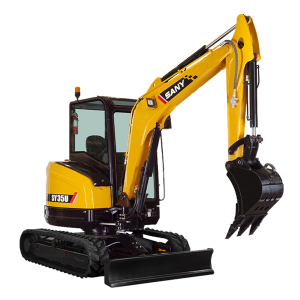
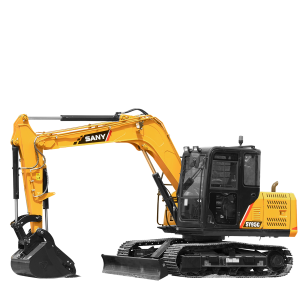
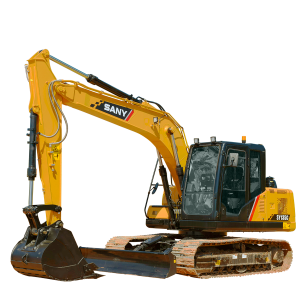
Interested in experiencing the SANY difference firsthand? Dig into our extensive range of fully loaded machines, including telehandlers, excavators and more. Contact us today, and let’s kick-start your journey with SANY.